How To Use Tinkercad
Tinkercad is an online CAD tool which uses more of a drag and drop style than the coding style of OpenSCAD.
Getting Started
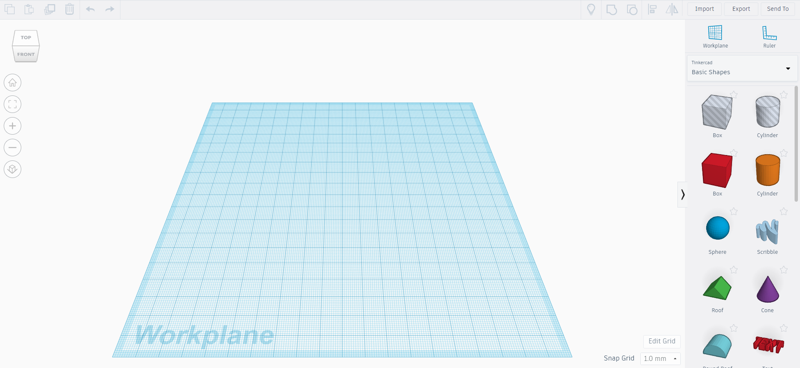
Opening Tinkercad
To access it, you need to go to Tinkercad and create an account. Then you will be shown a blank grid with lots of pre made shapes on the right hand tab. These can be selected and moved into the workspace.
There is also a drop down menu where you can select text and numbers, connectors, printable kits and your own shapes you have generated.
Transforming Shapes
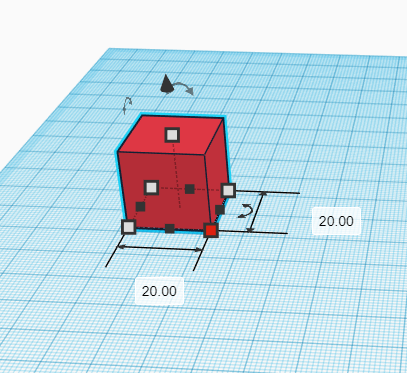
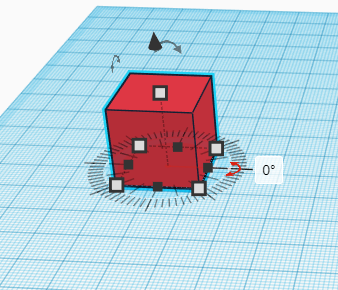
When a shape is initially dropped, it has default length, width and height. These are easy to change in a way similar to changing the size of an image on Word for example. You can then either drag to specifc lengths or angles, or input a specific value for a dimension or rotation of the shape.
Special Transformations
Some shapes have other transformations that are a little different, and these appear in a box in the top right of the workspace when the shape is selected. The table below describes what some of these transformations do.
Transformation |
Function |
Steps |
For rounded shapes, more steps creates a smoother curve |
Bevel |
Creates a slope between a horizontal and vertical surface |
Segments |
Increases the smoothness of a bevelling; more segemnts creates a smoother curve |
Sides |
For polygons etc this is fairly self explanatory, but for rounded shapes more sides creates a smoother curve |
Wall Thickness and Tube |
A larger value creates a smaller hole in the centre of the torus or tube |
Inner radius(%) |
This decimal represents the percentage of the outer radius the inner radius will be for a star shape |
There is also a drawing tool for the ring, which allows you to create a cross section.
Other Tools
When shapes are selected, there are other commands available in tinkercad. There are options to redgroup, blueungroup, greenalign and mirror different shapes. Once shapes are grouped or aligned, they can then be transformed as one which can be useful when combining shapes for a model.

There is also the ’hole’ function which is similar to the difference tool in OpenSCAD. The shape that is a hole is cut out of solid shapes, and the ease with which tinkercad shows the differences makes this very simple to visualise.
Importing Models
It is possible to import .stl files to tinkercad which is very useful. If a model online is only available as a .stl file, it can be imported to tinkercad, edited here and then exported to be printed. This is a feature not supported by OpenSCAD so tinkercad is very good for editing .stl files.
Exporting Models
When your model is complete, you can export it to be printed. It is best to export as a .stl file as this can then be printed using Flashprint.
It can also be shared with other users by inviting them to collaborate on the design. Once it is complete, the design can be shared straight to online communities like Thingiverse when accounts are connected and authorised.
Examples
Dice
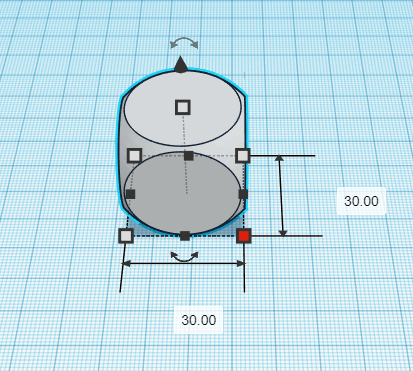
We begin by adding in the dice shape from the Basic Shapes tab. This is much easier and simpler than creating an intersection between a cube and sphere perhaps on other programs. We change the dimensions of this shape to be a cube with 3cm side lengths.
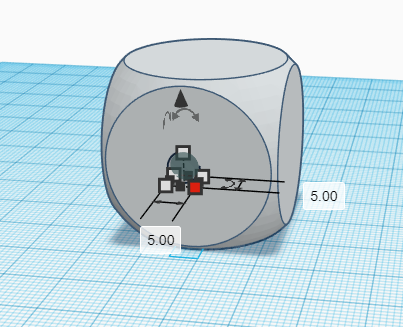
Next, we create small 5mm diameter spheres and make them holes rather than shapes. These will be the dots in the dice that represent the number and we position these with the drag and drop feature. This may not be as precise as coding their position, but it is significantly quicker.
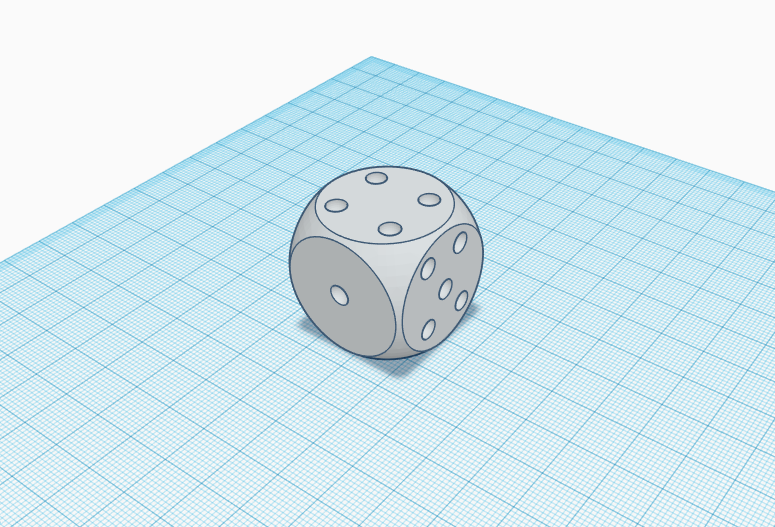
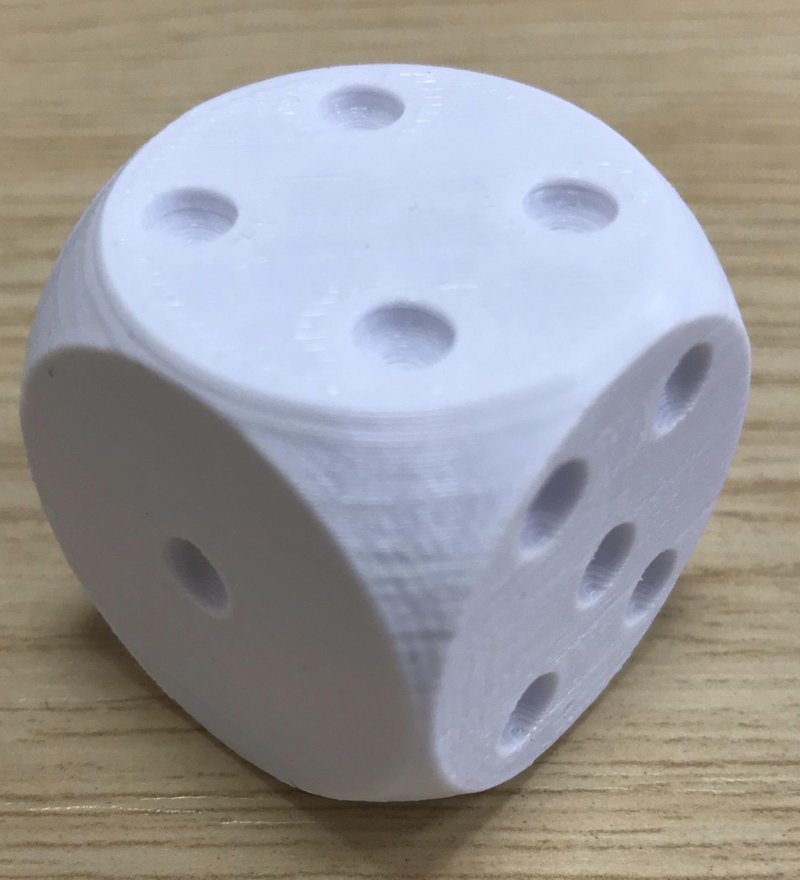
Once all spheres are positioned, the dice shape as well as the 21 holes are grouped as one object. This means it can be exported as a .stl file and printed.
Things we’ve Made
Useful Links
On Tinkercad, there are ready made tutorials that range from moving and placing shapes, to larger projects.
All3DP hosts a Tinkercad tutorial.